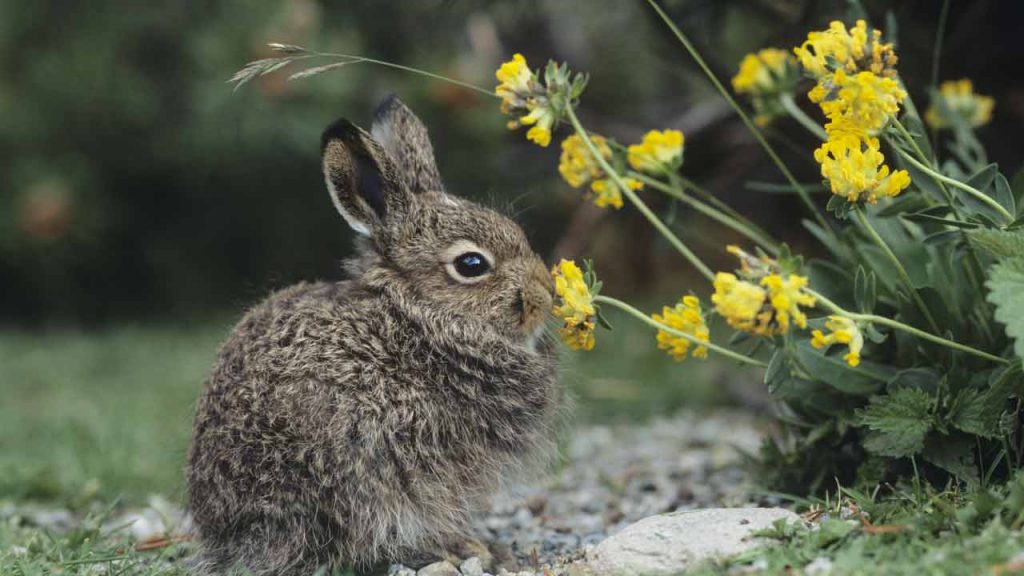
Spring is the season when everything around us seems to come back to life after a long slumber.
The temperature gets warmer, flowers begin to blossom and you get more hours of daylight.
If you live in the cooler climates, you finally get a break from the snow and darkness of winter.
So what does that mean?
If you have a backyard garden, this is the perfect time to hit the ground running in readiness for the warmer months ahead. Your garden is probably in bad shape after weeks of neglect during the cold winter.
There’s plenty of work that needs to be done, so get ready to get your hands dirty. Here are 6 gardening tips for early spring:
#1 – Clear Debris and Litter
Your first order of business will be to clear all the debris that has accumulated on your garden. These include tree branches that came down during winter, rocks and litter.
Don’t worry:
You don’t have to clear fallen leaves from the garden unless they have piled up to a noticeable heap. Dead leaves can add plenty of nutrients to the soil as they decompose.
#2 – Remove Weeds
Your garden is probably full of weeds that took advantage of your winter inactivity. Weeds can wreak serious havoc if you allow them to thrive. It is therefore in your best interest to get rid of them as soon as you notice them.
The solution is simple:
The easiest way to deal with weeds is simply uprooting them. This will ensure that you not only eliminate the visible parts of each weed, but the roots and seeds as well. This reduces the chances of the weeds growing back again.
#3 – Avoid Tilling Wet Soil
The soil in your garden could be very wet and soggy due to excess water from melting snow and rain during the early weeks of spring. Soggy soil tends to compact easily when disturbed.
The bad news is:
Tilling wet soil can ruin its structure and lead to formation of hard lumps as it dries. Compacted soil drains poorly and hampers healthy root development.
The good news is:
You can perform a simple soil test to find out whether your garden is ready for tilling or not. Collect a small sample of soil from your garden and hold it in your hand. Tightly squeeze the sample until it forms a solid lump.
Place the compacted lump of soil on a flat surface and try to poke it with your finger. If the sample remains compact even when pressure is applied, it means that the soil in your garden is too wet to till. If the sample crumbles under pressure, you can go ahead and till your garden.
But don’t be too hasty.
Before you start tilling your garden, spread some organic matter such as animal manure, dead leaves or grass clippings on top of the soil. This material will improve the quality of the soil by adding nutrients and improving its texture.
Start on one corner of your garden by pushing a spade about ten inches into the ground and digging out the soil. Repeat this process all the way around the perimeter of your garden.
Once the whole perimeter has been tilled, you can work your way towards the center of the garden following the same circular pattern.
You get the idea.
The video below also gives you some extra spring gardening tips:
#4 – Prune Unhealthy or Dead Parts
Some parts of your flowering plants and shrubs may have become weak, damaged or infested by disease during winter. Removing these parts will encourage the growth of new flower buds and make your plants look more appealing.
Sounds easy enough, but…
You must first correctly identify the parts that need pruning to avoid harming your plants. Unhealthy flowers that need pruning will start to dry up and shed their petals or appear discolored.
Limp stems that start to droop downwards or those heavily infested by insects should also be removed. You can use a pair of garden sheers to snip off such parts at the base where they are attached to the plant.
A word of warning:
Be careful not to cut off any flower buds, blooming flowers or any other healthy parts from the plant.
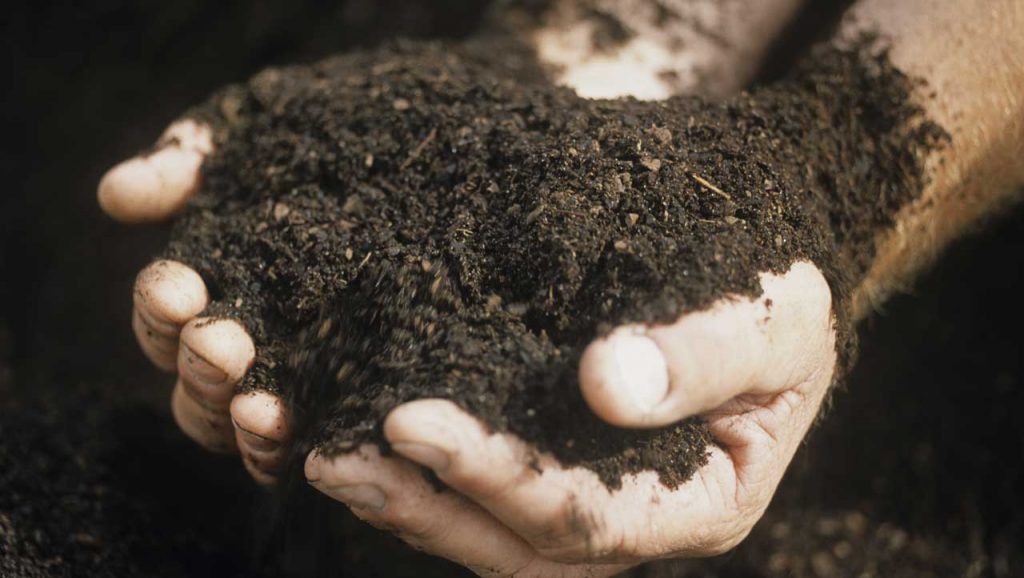
#5 – Perform A Soil Test
I am going to let you into a secret:
Plants will grow well in soil that has a slightly acidic pH and a proper balance of all nutrients.
The only way you can accurately determine the pH levels in your soil and the nutrients it lacks is by performing a few tests.
You can collect a sample from your garden and take it for thorough analysis in a soil testing lab near you.
Don’t want to do that? Don’t worry, there is a solution:
Alternatively, you can purchase a soil testing kit online or from your local gardening supplies store and perform the tests yourself.
These tests will provide you with a detailed analysis of the pH levels and nutrient concentration of your soil.
You can use this data to improve the quality of the soil by using fertilizers and soil additives to either reduce or increase the pH levels.
#6 – Start Growing Your Plants Indoors
Planting seeds directly in your garden can be a challenge for most people. This is because the right conditions needed for germination are difficult to achieve in an outdoor setting.
Not only that:
Your garden will probably be too soggy in the early spring for you to plant anything there.
You can start growing your seeds indoors as you wait for the conditions to improve before transplanting them.
It is a no-brainer right?!
You will first need to decide how many plants you wish to grow. Always plant more seeds than the total number of plants you require because about a quarter of the seeds will not germinate.
Planting extra seeds will provide you with a back up to cover for the bad seeds that will fail to germinate. You can use plastic or paper cups as growing containers. Make sure you poke a few holes on the side and bottom of each container to allow for drainage.
Don’t forget:
Plants growing indoors will still need plenty of light to grow. You will have to position the plants where they will have access to sunlight a few hours each day.
This could be an area close to a window or a partly enclosed porch. If this isn’t possible, you should consider installing artificial grow lights in the room where your seeds will be planted.
Then:
Fill the growing containers with a pre-mixed seed starting mix and plant the seeds according to the instructions on the packet.
A seed starting mix can be purchased in a gardening supplies store. You should only prepare your own mix if you know exactly how to do it, never use soil from your garden to germinate seeds indoors.
So there we have it six early spring gardening tips to set your garden up for a wonderful year.
Enjoy!
USEFUL RESOURCES
Want to learn some more spring gardening tips? You can find further information here:
- 5 Essential Spring Gardening Tips – Huffington Post
- Top 10 Tips To Prepare Your Garden For Spring – Thompson-Morgan
- Spring Gardening Checklist – Better Homes & Gardens
Hey Steve, you have shared an amazing blog with us. These tips are very useful for every garden lover, especially in the spring season. Thanks and keep sharing!
Most welcome Jane – glad you found this useful.