
Container gardening is what it sounds – the planting of ornamental or edible crops in containers and pots rather than on the ground.
It is a great way to utilise space if you have a small garden.
And luckily for you learning how to container garden is a fairly straightforward process.
Believe it or not:
Container gardening has been practiced by man for centuries with the Hanging Gardens of Babylon being the most famous example of its application in ancient times.
Fortunately not all efforts have to be like the Hanging Gardens of Babylon! And learning how to container garden can be a fairly straightforward process.
Container Gardening – Is It For You?
Container gardening is a great option for any urban dweller who fancies gardening but can’t find any open gardening space in the concrete jungle.
By growing plants in containers, you can enjoy a constant supply of fresh vegetables or maintain an intimate connection with nature by creating an indoor botanical garden.
Ok, hope you are still with me:
Container gardening can also come in handy if you live in an area with terrible soil and weather conditions as you can easily create the perfect environment for any plant to flourish in a container.
In addition, you can do it for aesthetic reasons through planting flowers and ornamental plants that you find appealing.
The Benefits of Container Gardening
Container gardening comes with several benefits, here are a few:
- Controlling weeds will be much easier
Due to the fact that containers have a limited area, you will be able to spot weeds easily and manually pluck them out when they appear.
- You can plant a wider variety of plants
The soil in your garden may only be suitable for specific crops and this can limit your options. By growing plants in containers, you can easily alter the soil composition to favor the growth of almost any plant.
- Container plants are easy to move
With container gardening, moving the plants simply involves hauling the container to a place of your choice.
This painless mobility can come in handy any time you wish to modify the aesthetics of your house or garden by moving some things around.
- Container gardening offers good water economy
If you often irrigate the plants in your garden there is a good chance that most of the water is wasted.
Plant roots can only absorb small amounts of water at any given time and the rest usually evaporates or flows away as surface runoff.
With container gardening, there is no such thing as surface runoff and most of the water is retained within the container.
So What Plants Are Suited For Container Gardening?
Even though container gardening is considered to be among the most versatile planting techniques, not all crops can be planted this way.
This method is only practical with smaller plants that never grow higher than 3 feet.
Here are some of the crops that can be grown in containers without any trouble:
All Vegetables
Vegetables don’t need much space to grow since most of them have shallow roots.
Nevertheless, you will still need to find out how big each vegetable gets as it grows and find the right container size for planting it. Cabbages for example can get really big and therefore require larger containers.
Herbs
Herbs tend to be small in size even when they reach maturity.
You can therefore plant your favorite herbs such as Basil, Rosemary, Oregano and many more without the risk of the plant becoming larger than the container.
Some Fruit Species
Dwarf fruit trees, especially berries, have been cultivated in containers for centuries. Strawberries, Raspberries, Blueberries, Blackberries and Raspberries can also all be grown this way.
Other dwarf fruit trees such as dwarf apple trees are also good options. You only need to find out how big the plant can get as it grows. If it can fit in a container then you can give it a try.
Flowers And Other Ornamental Plants
Container gardening is mostly done for aesthetic purposes. For this reason, the most widely cultivated container plants are flowers.
Choosing A Suitable Container
There are several types of containers available and the best option for you will be determined by the plants you wish to grow, how much you are willing to spend, your aesthetic taste and whether the container will be placed outside or indoors.
Here are the important container qualities and how they matter:
Size
The size of the container you select must provide adequate space for the plant’s roots to branch out with minimal restriction.
And that is because:
If the roots become cramped as the plant grows, it may become stunted. However, the container should not be too large since it will take up precious space in your house.
Furthermore, you might end up spending too much money buying enough potting soil to fill it up.
Container Material
There are several alternatives with regard to the type of material that the container can be made from.
Here are some common materials that can be used and what you can expect from each of them.
- Terracotta
This is the oldest and by far the most popular material for gardening containers. It is molded from clay and baked under high temperatures to harden it and give it a rich brownish-red color.
The advantage of terracotta garden pots is that they are visually appealing and can fit into any décor theme.
Their downside is that they are relatively expensive to purchase and tend to be particularly heavy which makes them difficult to move. - Wood
Wooden containers are a good option for anyone working towards achieving a classic aesthetic look. Wooden containers however tend to have a shorter lifespan due to the fact that they gradually decay when exposed to water. - Plastic
Plastic containers are sturdy and less prone to breakage. They are also very cheap to purchase which makes them a good option if you are working on a tight budget.

Getting Started With Container Gardening
Here is a list of items you will need to have before you get started.
- A container of your choice
- A pre-formulated potting mix
- A fine plastic, rubber or stainless steel mesh to line the container with seedlings or seeds for the plant you wish to grow
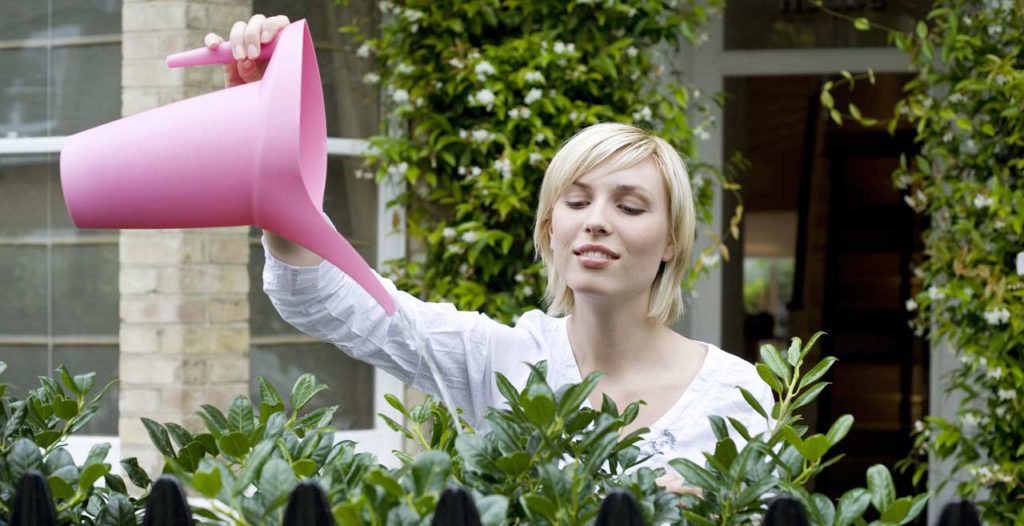
- A watering can
#1 Drilling Holes In The Container
After selecting a suitable container, you will have to drill a few holes at the bottom to provide an outlet for draining excess water.
Since most containers are water-proof, these holes will ensure that the soil in the container never becomes waterlogged. Excess water can choke the roots and cause the plant to wither.
And that you don’t want!
Using a hand-held drill, make a few holes at the bottom of the container spacing them three inches apart. The inner surface of the container should then be lined with a sheet of fine mesh.
This sheet will prevent soil from escaping through the drilled holes without restricting the drainage of excess water.
#2 Choosing The Right Location
Once the drainage holes have been drilled and lined with mesh, you will need to find an appropriate location to place the container.
In an ideal world:
This should be an area that receives plenty of sunlight and is well-ventilated. But if you intend to grow your container plants outdoors, you shouldn’t worry too much about this.
If you plan to grow your plants indoors, it is advisable to place the container close to a window which will provide the plants with lots of natural light and fresh air.
#3 Filling The Container With Soil
When filling your container with soil, it is recommended you go for a ready-made potting mix rather than using soil taken straight from your garden.
This is due to the fact that garden soil tends to compact easily and is also more likely to contain pests and weeds. Potting mix can be purchased in any gardening supplies store.
Here is the secret:
These mixes are formulated with special ingredients which give them a fluffy texture that allows adequate aeration and water drainage.
If you decide to use soil from your garden, you will need to remove any visible rock particles and debris from the soil you scoop.
You should also crush all hardened lumps of soil until you are left with a loose and uniform pile of dirt to work with. You can then mix this soil with a little peat moss to make it fluffy.
This is important:
Regardless of the type of soil you decide to use, always ensure the container is only filled up to the three-quarter mark.
This will reduce the chances of the soil becoming too tightly-packed while also making it easier to transfer the container without spilling soil around as you move.
#4 Planting
You can either plant your crops directly from seeds or by transplanting ready-grown plants into a container.
When planting seeds, disperse a few seeds over the soil in the container then cover them with a half-inch layer of soil.
Next:
You can then lightly irrigate the container with water to soak the top soil and provide moisture for the seeds to germinate.
Water the container daily if necessary to ensure that the top soil remains moist but not waterlogged.
After about one week, the seeds will begin to germinate. If you only need one plant in the container, you can uproot some of the germinating shoots to remain with a single plant.
Obviously though that is up to you.
When transplanting a ready-grown plant or seedling into a container, extract the plant from the ground or vessel holding it gently to ensure that its roots remain intact.
Set the plant in the container as it is. There is no need to remove any soil stuck on its roots or dig up a hole in the container to place it in.
Hold the plant upright with one hand and spread soil around it until its roots have been fully covered.
Finally:
Gently pat the soil around it to ensure that the plant is firmly set in the container, but don’t pat too hard that the soil becomes tightly compacted.
Irrigate the container with enough water to keep the soil moist but don’t overdo it. You can mulch the container with a layer of peat moss to help retain the moisture content of the soil.
Caring For Container Plants
Watering Container Plants
Potted plants should be watered regularly especially during hot seasons. Keep an eye on the container daily to determine if the plant needs to be watered.
Remember:
To avoid waterlogging the soil, you should only irrigate the container if the top layer of soil feels dry when you touch it.
Dealing With Weeds
Weeds and other pests can invade your container even if you have placed it indoors. This often happens when garden soil is used when planting instead of potting mix.
Regularly check the surface of the container and the plant itself for any insects. Use an organic insecticide to eliminate all visible pests.
The good news is:
Weeds are much easier to manage. If you notice any weeds growing in the container, simply pluck them out and dispose them.
Fertilization
Container plants need to be regularly fertilized to keep them healthy.
If you used a potting mix when planting, you won’t need to add any fertilizer during the first month since potting mixes contain all the nutrients necessary for growth.
So:
After the first month, regularly add a little fertilizer to the soil to keep the plants healthy. You can tell that the soil needs more fertilizer when the leaves of the plant you are growing start to turn yellow.
Re-Potting
After a few years, the roots of your container plant may become pot-bound. This happens when the roots become too long and end up becoming entangled within the container.
A plant that has become root-bound will experience stunted growth and stop producing fruits.
When this happens, you will need to re-pot the plant by transferring it to a larger container which will provide more room for its developing root system.
And there we have it – a run down of how you can create your own container garden – and how you can keep it look healthy and full of life.
USEFUL RESOURCES
Want to learn more about container gardening? You can find further information here:
My daughter lives in a downtown apartment and has a container garden on her balcony. She grows strawberries, tomatoes, green beans and other vegetables, depending on the season. It’s really a neat way to do a little gardening when you don’t have a yard! She uses an attractive terracotta container, and it looks terrific when her little garden is sprouting!
Thanks Laurie. It really is a great way to garden when you might not have space otherwise and can be quite rewarding. Sounds like your daughter has quite a little garden going on there – good for her!
Hello Steve,
You sound very experienced in container gardening. Your post provides a lot of great information. I never realized there were so many things to consider when planning to grow plants this way.
I plant my garden in long wooden boxes 1 foot off of the ground, out doors of course. These boxes are 16 foot long and 5 feet wide and may not qualify as the type of container garden you are talking about, but I love it. It is much easier to control the weeds and its higher off the ground, making it easier to pick the vegetables from.
I tried something new this year and was unsuccessful. I grew squash and zucchini vertically. I had cattle wire rolled up in a circle and placed around each one with wooden stakes supporting them. They started out doing great, but after only producing a few squash they died. They didn’t seem to like growing that way. Do you know what I can try next year to keep them in a more controlled state? I don’t like them traveling all over the ground. It makes my mowing jobs more difficult.
Thanks for sharing,
Devara
Thanks Devara, very nice of you to compliment my article. Sounds like you are quite experienced in container gardening yourself! You are right it is easier to control the weeds and pick the vegetables.
When it comes to growing things like squash and zucchini vertically there are a few things to you need to make sure you do – I haven’t written an article on it (it is now added to the list though!) but this article on how to trellis zucchini might help.