Do you want your plants to grow healthy? Start with the soil! Keep the soil healthy and free from harmful bacteria and other substances that could also harm the seeds, seedlings or cuttings.
How to sterilize soil? Read on to find out.
Why You Need to Sterilize Soil
You know how before you welcome a baby, you need to prepare the nursery? You want that place to be comfortable for the baby.
You clean the place up and ensure that there are no germs and bacteria in the room or at least limit them.
And then
You decorate the nursery after you have cleaned it up.
This way, the baby will be comfortable and safe. Those are a couple of steps to keep the baby healthy.
More or less the same
That is kind of how it works with soil sterilization.
You keep the soil free from germs and bacteria so that it will be a healthy environment for the growing plant.
What is sterilization?
The technical definition of the term is the process that removes or kills biological agents present in a specific area, which could be a surface, object or fluid.
When it comes to plants, sterilization pertains to soil.
Why is it needed?
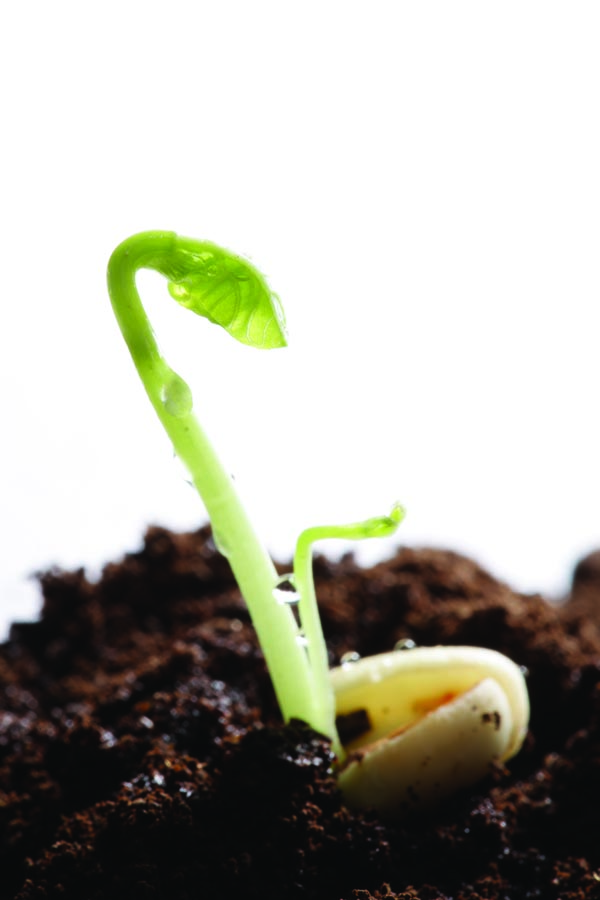
Soil contains pathogens that could harm the seeds, seedlings and cuttings.
When you start to grow plants, you either plant them as cuttings, seeds or seedlings.
The pathogens could be harmful bacteria or fungi.
Other microorganisms that may be present in the soil are larvae that could turn to insects that would eat the seedlings.
Better to sterilize at home
Now, there are sterilized soils that are sold in stores.
While it may be true that they had been sterilized, you don’t actually know if it’s still free from harmful microorganisms.
Let me explain
The soil may have been contaminated during the process of bagging the soil.
Or, perhaps there was a puncture in the bag that allowed pathogens to penetrate.
Here is another situation:
The soil may have been in the shelf for so long.
There are actually many ways that sterilized soil could be contaminated when not used immediately after the process of sterilization.
Don’t worry
Sterilizing soil is very easy. You can do it at home!
How to sterilize soil? Here are the steps…

How to Sterilize Soil
Let’s start by enumerating the ways you can sterilize the soil.
You can do so in three ways:
- Baking in the oven
- Heating in the microwave
- Steaming
The most common equipment used in sterilization is the oven. Let’s learn more about this process.
Oven
Here are the things you will need in addition to the oven:
- Soil
- Oven-safe container
- Meat thermometer
- Water
- Mixing tool
- Aluminum foil
The process:
- Add water to the soil
You need the soil to be moist. Don’t make it too wet though.
It should just be moist enough that you can mold it into a ball, but once you remove your hand’s pressure on it, it will crumble.
- Place into the container
You may use a baking sheet or a baking pan.
Distribute the soil in the container evenly. You can have a maximum thickness of four inches–although, when you use a baking pan, it couldn’t reach that thickness.
Don’t fill the edge. Cover the pan with aluminum oil. Make it tight so that moisture won’t be lost.
Lastly, poke a hole in the middle of the foil because this is where you will insert the thermometer.
- Bake
This is the actual sterilization process. It’s weird to call it baking but I wanted to emphasize that the entire process is how to sterilize soil.
Now, put your soil in the oven at a low temperature. You don’t want to burn the soil because that could alter the soil makeup.
Bake for 30 minutes

- Check the temperature every now and then
While it is baking, check the soil’s temperature and make sure it stays at 180℉ or within its vicinity.
Adjust the temperature when necessary.
- Cool down
After the 30-minute baking, remove the soil from the oven. You want it to be at room temperature.
A few minutes after removing the soil from the oven, remove the foil. Be careful though as the steam will be hot.
Make sure your face is not directly above the container.
You can now use the soil
After the cool-down process, you can already put the soil in pots.
Steam
You can either steam on a pressure cooker or in the more generic way. I will teach you about the more generic process since regular kitchens don’t really have a pressure cooker.
It’s just like steaming food. First, here are the things you need:
- Stove
- Soil
- Large stocking pot with cover
- Jars
- Rack
- Aluminum foil
- Water
- Mixing tool
- Water the soil
There is no need to elaborate on this; we’ve already discussed this earlier.
- Put soil in jars and cover it with aluminum foil
It’s up to you, your need and the size of the stocking pot to determine how many jars you will need.
Just leave two or three jars empty. Why? You’ll find out next.
- Prepare for sterilization
This is a stacking process. First, pour water into the stocking pot and make sure it will not go over the height of your jars.
Place the jars in the stocking pot. Again, this is up to the size of your jars and stocking on how many you can actually put in there. It’s usually three.
Put the rack over the jars. Then you put the soil-filled jars on the rack.
- Put on the stove and heat
Don’t forget to cover the pot. When the water boils, remove the lid and put it back in a way that there will be some space for the steam to escape.
You do this by putting part of the lid over the edge of the pot. This way, the opposite side will have a gap.
Leave it on the stove for 30 minutes.
- Let the soil cool
Just like with the oven sterilization, you take the soil from the heat and allow it to cool down.
Remove the foil when you are ready to use it.
Microwave
The things you need, aside from the obvious:
- Soil
- Microwaveable containers with cover
- Water
- Mixing tool
- Tape
- Moist the soil
- Place soil in the containers
Cover the soil, of course. Put holes in the cover for ventilation.
- Turn on microwave
Here’s the formula you need: Turn on the microwave to full power. For every pound of soil, heat it for 90 seconds.
- Cool down
If you can take the holes, that would be good. It means you are preserving the sterilized soil before you need to use it.
What Else You Need to Know
The soil has a distinctive scent when being sterilized. Some may consider it stench, some may not–but one thing is for certain, the scent is quite forceful.
However
You have no choice as the mentioned processes involve equipment in the kitchen. But it’s best that you know beforehand so you can open some windows.
You can also prepare some Lysol products to remove the smell.
Look:
Remember I mentioned earlier that packed sterilized soil sold in the stores may be contaminated?
This is why it’s important that you also sterilize the plant container you will use, especially if this has been used before.
You’ve been through a lot of effort sterilizing the soil only for it to be contaminated by the pot. Make sure that doesn’t happen.
Here’s another important matter:
Make sure you use fertile soil. This means that the soil is capable of sustaining plant growth.

Summary
This is an important tip for plant newbies: STERILIZE YOUR SOIL!
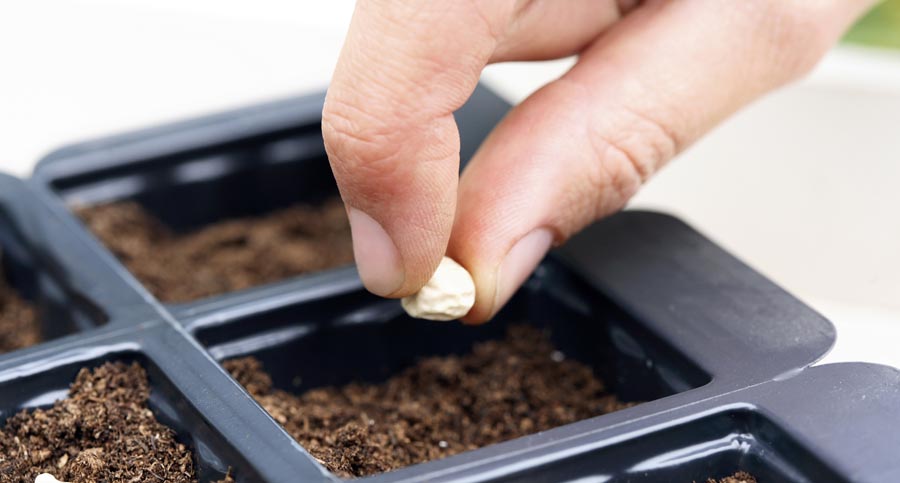
But why? There are pathogens and microorganisms that live in the soil that are not good for plants. They either bring disease to the plants or kill them during germination. You need to sterilize before you plant your seeds, seedlings or cuttings.
How to sterilize soil? There are three very easy ways. You can bake them in the oven, microwave or steam. Whichever process you choose, it’s very easy. The materials are mostly just in your kitchen!
You Might Also Like
When you sterilize soil, it is mostly because you are starting to grow plants. It would be easier to put seeds, seedlings and cuttings in containers. Find out more about the best containers for container gardening.
Speaking of containers, what is container gardening?
Can you already smell the pumpkin spice latte? That’s because autumn is coming. Here are some autumn gardening tips.
Useful Resources
- Should You Sterilize Potting Soil? – Garden Culture Magazine
- What Is Sterile Soil? – SF Gate
- What Is the Difference Between Potting Soil and Garden Soil? – HGTV
